I remember the days when project management felt like a constant battle against time and repetitive tasks. My to-do list was a sprawling, chaotic mess, and I spent more hours on data entry and status updates than on actual creative work. Then, in 2026, I discovered the true power of Airtable's automation features. It wasn't just another project management tool; it became my digital co-pilot, handling the mundane so I could focus on what truly mattered. The promise of automating tedious tasks like data entry and email notifications wasn't just a feature—it was a revolution for my workflow. Have you ever wondered how much time you could save if your tools worked for you?
What Are Airtable Automations, Really?
At their core, Airtable automations are predefined sequences or workflows that act like a set of intelligent instructions. They are designed to boost productivity by taking over repetitive tasks. Think of them as your personal assistant who never sleeps, tirelessly watching your data and springing into action when specific conditions are met. The benefits are clear:
-
✅ Reduced Errors: Manual processes are prone to mistakes. Automations eliminate human error.
-
✅ Time Savings: Reclaim hours each week by letting the system handle routine work.
-
✅ Effort Reduction: Focus your mental energy on strategy and creation, not administrative chores.
Every automation is built on three fundamental pillars:
| Element | Role | Example |
|---|---|---|
| Trigger | The event that starts the automation. | A record is created or updated. |
| Trigger Configuration | The specific conditions for the trigger. | A record's "Status" field changes to "Completed." |
| Actions | What happens after the trigger fires. | Send an email notification or update another record. |
When an automation is active, it constantly monitors your base. It only springs to life when all the conditions in your trigger configuration are perfectly met. It’s this precision that makes it so powerful.
Building My First Automation: A Step-by-Step Story
Let me walk you through how I built my first automation. The process was surprisingly intuitive.
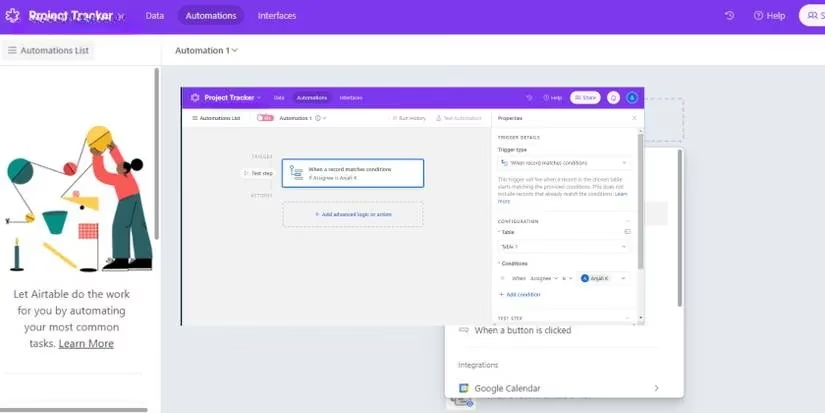
First, I navigated to the Automations tab and clicked "Add trigger." A world of possibilities opened up! I could choose from triggers within my Airtable base or even from external integrations like Google Calendar. For my project deadline tracker, I selected "When record matches conditions."
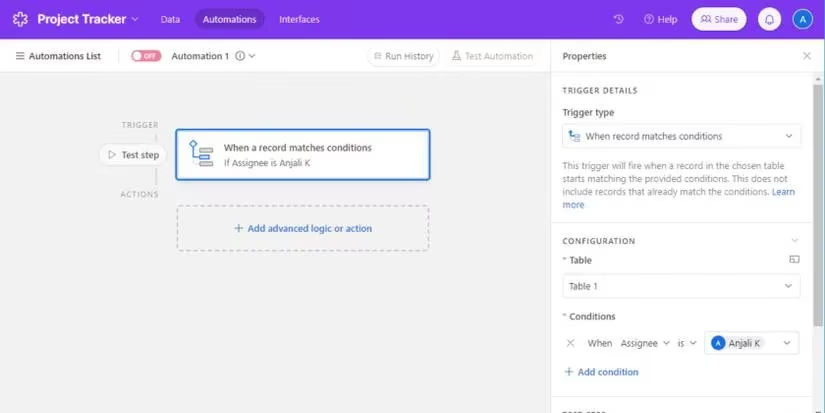
Next came the configuration. I specified the table to monitor—my "Projects" table—and set the condition: {Deadline Date} is within the next 3 days AND {Status} is not "Completed." This meant the automation would only care about upcoming, unfinished tasks.
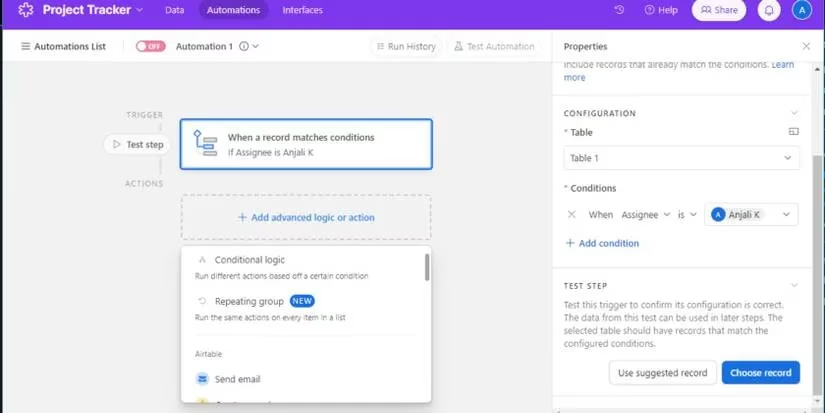
With the trigger set, it was time to decide what should happen. The action list was extensive! I could create records, update fields, or send communications. I chose "Send an email."
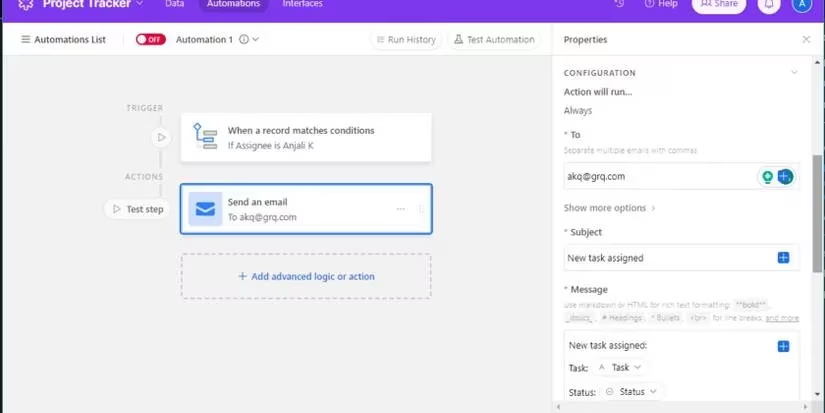
Here’s where the magic gets personal. I configured the email to go to the project lead (pulled dynamically from a {Lead Email} field), with a subject like "Upcoming Deadline: {Project Name}" and a friendly but urgent message in the body. I could even include the specific deadline date from the record.
The beauty is you don't have to stop at one action. You can chain them together! After sending the email, I added a second action to "Update a record" and add a "Reminder Sent" checkbox. This created a perfect audit trail.
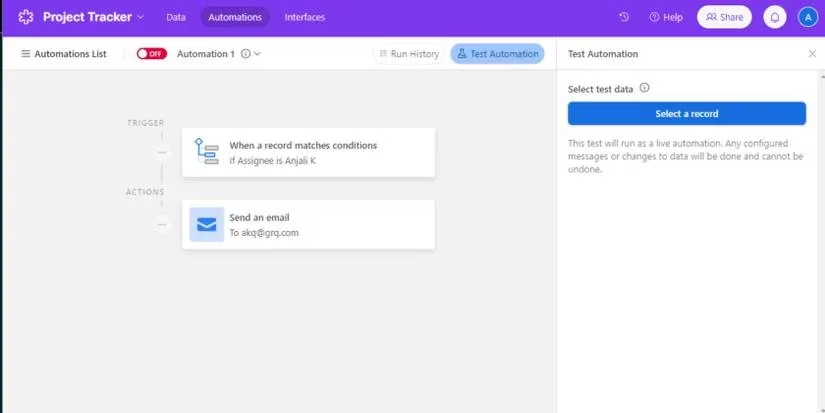
Before letting it run wild, I used the "Test Automation" feature. This is a crucial safety net. It lets you run a simulation with sample data to ensure your trigger catches the right records and your actions perform as expected. Once I was confident, I flipped the switch.
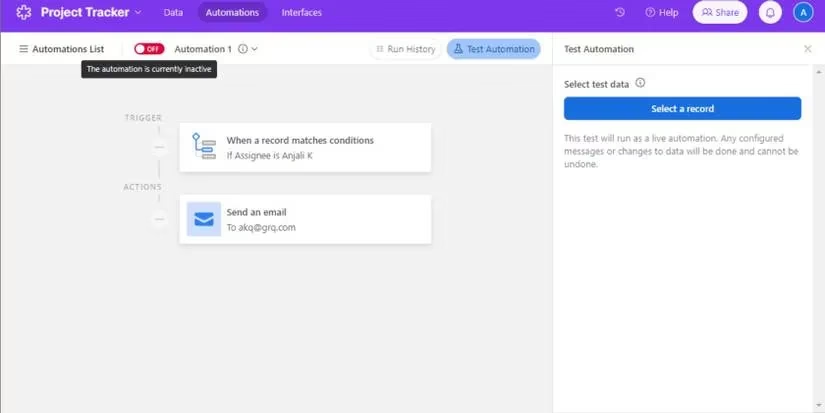
A key note: When you turn an automation on, it only applies to new records or changes that happen after activation. It won’t retroactively process existing data, so plan your rollout accordingly!
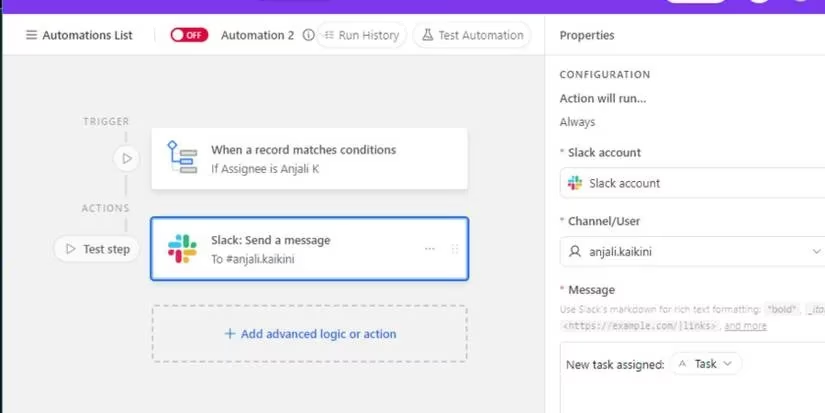
Connecting My Entire Toolkit: The Power of Integrations
Airtable's power isn't confined to its own walls. Its ability to connect with other apps transformed it into the central hub of my operations. Imagine this: a new client inquiry form submission automatically creates a record in Airtable, which then posts a message to a dedicated Slack channel and creates a follow-up task in my team's project management tool. That's the power of integrations.
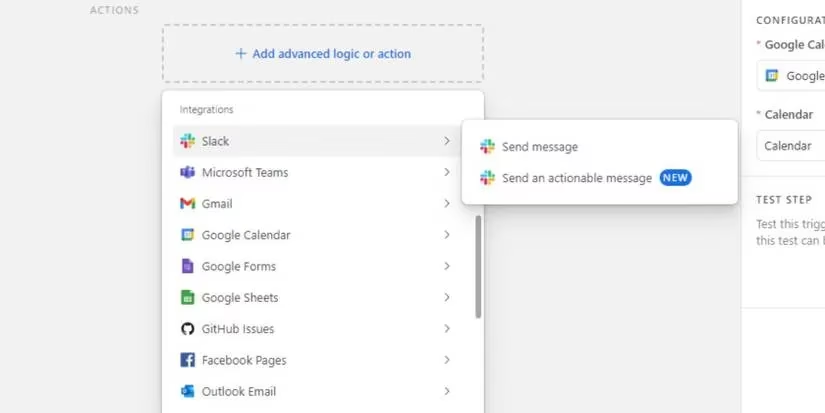
Here are a few ways I've connected Airtable to my other essential tools:
- 🤖 Slack: Get instant notifications in a channel when a high-priority task is assigned.
- 📅 Google Calendar: Automatically create calendar events from due dates in my Airtable base.

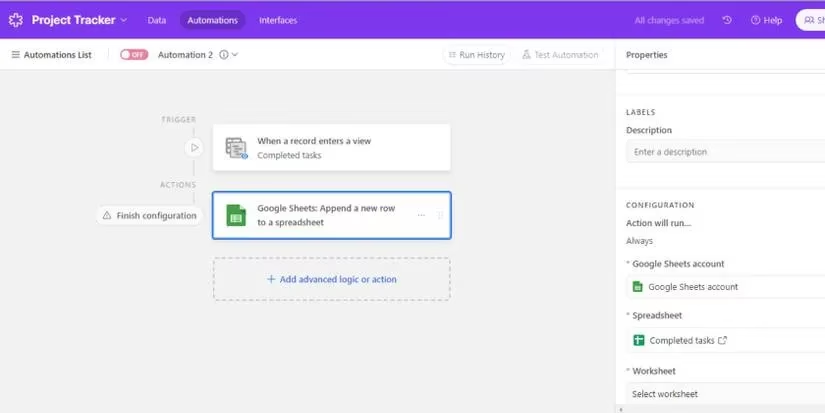
- 📊 Google Sheets: Sync specific views or tables for stakeholders who prefer spreadsheet analysis.
The list goes on—Microsoft Teams, Gmail, Salesforce, Jira, and more. These integrations mean Airtable doesn't just store data; it orchestrates work across your entire digital ecosystem.
Navigating the Limits: What You Need to Know
Of course, no tool is without its boundaries. Being aware of Airtable automation's limitations helped me design smarter workflows. Here’s the reality as of 2026:
-
Workflow Cap: You can have a maximum of 50 automation workflows per base, active or inactive. The workaround? Design efficient, multi-action workflows instead of many single-purpose ones.
-
Action Limit: Each automation can contain up to 25 actions. This is usually more than enough, especially since you can pass data from one action as input to the next in the chain.
-
Run Limits: Your plan (Free, Plus, Pro) determines how many times your automations can run per month. Both successful and failed runs count toward this limit.
-
Free Plan Considerations: On the Free plan, automated emails can only be sent to collaborators within the base. Also, some premium integrations (like Google Docs, Salesforce, Jira Cloud) are not available.
-
Trigger Scope: Automations only respond to new changes. They don't scan historical data when activated.
Understanding these constraints isn't a drawback—it's a challenge to be more creative and efficient in your automation design.
The Transformation: Reclaiming My Time
Adopting Airtable automations wasn't just about saving minutes; it was about reclaiming my focus. The mental load of remembering to send follow-ups, update statuses, and log data simply vanished. My projects now run with a smooth, predictable rhythm. The system handles the reminders, the updates, and the notifications, allowing me and my team to concentrate on the work that requires human insight and creativity.
So, if you're still manually shepherding every piece of data and task, ask yourself: What could you accomplish with an extra 5-10 hours per week? The initial time investment to set up these automations pays for itself many times over. In 2026, letting your tools do the heavy lifting isn't a luxury; it's the smart way to work. Start with one small, repetitive task. Build a simple automation. You might just find, as I did, that it changes everything.
Comments